
Bringing oak furniture back to life can be an enjoyable and simple endeavor. With just a few key restoration techniques, you can rejuvenate your cherished pieces.
From scratches and dents to faded finishes, utilizing effective DIY methods empowers homeowners to achieve impressive results without the hefty price tag.
With the right materials like wood filler and quality varnishing supplies, you can ensure durable beauty in your repairs.
Novices and seasoned enthusiasts alike will find these practical tips accessible, making oak furniture repair attainable for everyone.
Click here to learn more about: www.globalvisioncompany.com
Exploring Oak Characteristics
Recognizing unique properties of oak is essential for its proper use in furniture restoration. These traits make oak a favored choice among woodworkers and designers.
Distinguishing Between Red and White Oak
Red oak and white oak differ significantly in appearance and functionality. Red oak exhibits a warm, reddish hue, complemented by an open grain pattern that enhances rustic aesthetics.
Conversely, white oak showcases a lighter tone with a tighter grain, offering superior water resistance, making it ideal for various furniture applications.
When considering refinishing aspects, knowing these differences allows for informed decisions in the restoration process.
How to Identify Oak
Identifying oak wood can be straightforward.
Look for distinct grain patterns and colors that set red oak apart from white oak. Woodworking enthusiasts can enhance their skills by practicing grain matching techniques, ensuring they can recognize oak in various finishes.
“Knowing the characteristics of oak enhances your ability to select appropriate restoration techniques. ”
When striving for quality craftsmanship, understanding oak’s unique features plays a critical role in achieving long-lasting and visually appealing results in furniture maintenance.
This knowledge not only aids in identification but also serves as a foundation for effective repair strategies. Choose the right restoration supplies for your projects, such as wood fillers, adhesives, and finishes, to maintain the beauty of your oak furniture while ensuring durability.
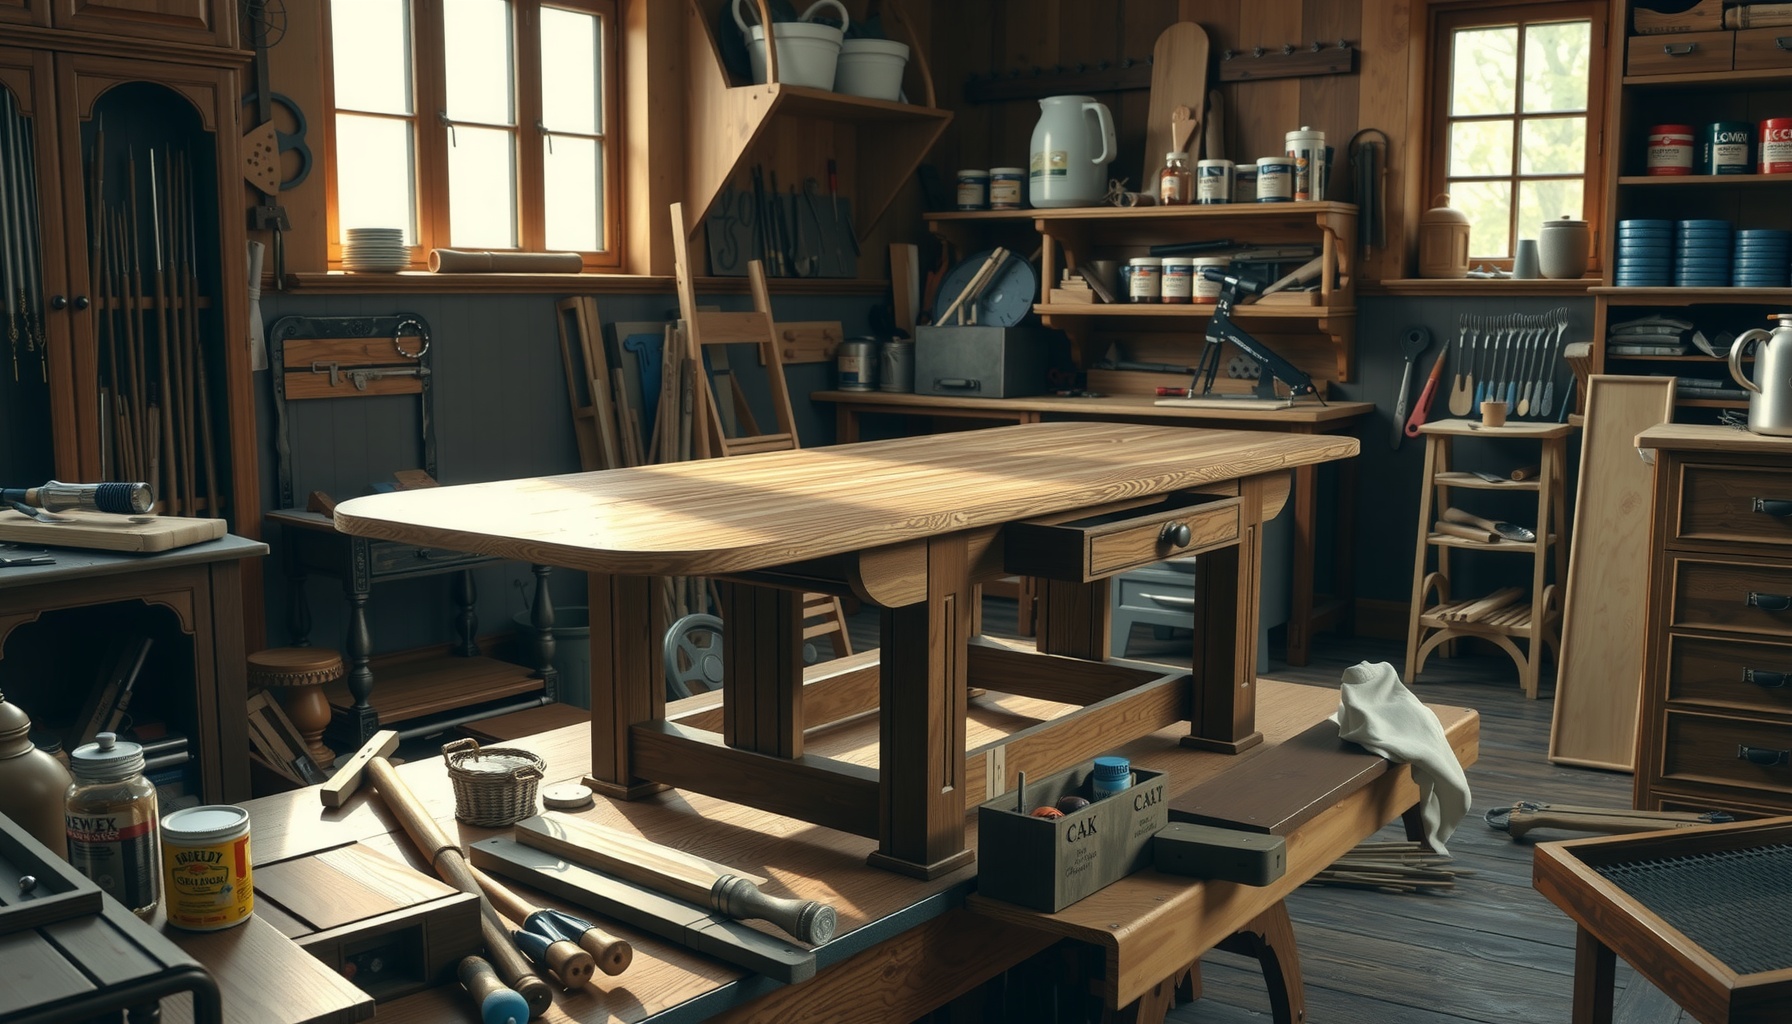
Essential Woodworking Tools for Repairs
To tackle woodworking repairs effectively, having the right tools is essential, especially for oak furniture. Chisels must be sharp for precise cuts; regular honing maintains their sharpness and effectiveness.
A hand saw featuring fine teeth guarantees clean cuts without splintering, which is important when dealing with oak’s tough grain.
An appropriately adjusted router allows for accurate hollowing of wood, while proper setup helps in avoiding damage.
Orbital sanders are indispensable for providing smooth finishes; starting with coarse grit paper and progressing to fine grits enhances the oak surface.
Finally, clamps are crucial for maintaining support during assembly; applying even pressure preserves the wood’s integrity.
Regular maintenance of these tools will significantly improve longevity and optimal performance, particularly when working with the distinctive characteristics of oak.
Key Tools for Oak Work
- Chisels: For detailed shaping and carving.
- Hand Saw: Ideal for straight cuts and trimming.
- Router: Perfect for adding decorative edges and hollowing.
- Orbital Sander: Essential for smooth finishing touches.
- Clamps: Necessary for holding pieces together during assembly.
Employing the right woodworking tools can facilitate significant furniture restoration and maintenance tasks. A well-maintained toolkit directly influences the quality of wood repair and oak refinishing projects.
Effective Wood Filler Application Techniques
Selecting the right wood filler is critical for effective oak repair projects. Water-based fillers excel for minor cracks due to their quick-drying properties, while solvent-based fillers provide stronger adhesion for larger imperfections.
Start with surface preparation; ensure a thorough cleaning to eliminate dust with a vacuum. Next, apply the filler generously using a putty knife, slightly overfilling to compensate for sanding later.
After letting it dry according to the manufacturer’s instructions, sand the area following the oak grain, beginning with coarse grit for a smooth finish. Apply a finishing product matching your oak piece, which ensures seamless grain matching for an exceptional, professional appearance.
Steps for Applying Wood Filler
- Choose the Filler: Decide between water-based and solvent-based fillers based on the size of the repair.
- Prepare the Surface: Clean thoroughly to remove dust and debris.
- Apply the Filler: Use a putty knife to apply and slightly overfill.
- Allow to Dry: Follow the product instructions for drying time.
- Sand the Area: Sand with the grain, starting from coarse to fine grit for optimal smoothness.
- Finish the Repair: Apply an appropriate finish that matches the oak’s original look.
These techniques not only enhance the aesthetic updates of oak furniture but also ensure durability and longevity. Seamless integration with oak grain is possible through attention to detail during application.
| Tool | Function | Importance for Oak |
|---|---|---|
| Chisels | Detailed shaping and carving | Essential for precise cuts in tough oak grain |
| Hand Saw | Straight cuts and trimming | Ensures clean cuts without splintering |
| Orbital Sander | Smooth finishing touches | Provides a refined surface for oak furniture |
| Wood Filler | Repairing cracks and imperfections | Critical for achieving a seamless finish |
How to Achieve Perfect Grain Matching
Creating a harmonious look in your oak restoration begins with effective grain matching. This essential technique allows restored pieces to integrate seamlessly with existing woodwork, significantly enhancing both aesthetic and monetary value.
Sourcing matching pieces can involve exploring local suppliers or participating in online forums frequented by woodworking enthusiasts.
Adjusting finishes can greatly elevate the visual appeal of new and old oak.
To blend these effectively, consider the following:.
- Sanding: Ensure uniformity by sanding existing surfaces.
- Water-based stains: Opt for these, as they provide a more consistent finish while minimizing visible differences between varied grains.
Staining for Aesthetic Updates in Oak
Enhancing oak’s natural beauty becomes straightforward when you choose the right stain. Oil-based and water-based stains uniquely accentuate oak wood, impacting final appearance significantly. To maximize aesthetic appeal, consider oak’s undertones, such as red and yellow, when selecting colors. These subtle variations guide you toward shades that beautifully harmonize with existing wooden surfaces.
Application Techniques for Optimal Results
To prevent blotching during stain application, adhere to these key tips:.
- Testing: Always test stains on inconspicuous areas first.
- Pre-stain conditioner: Utilize this for achieving uniform coverage and an impeccable finish.
- Stir thoroughly: Ensure consistent mixing of stains before application.
Quality craftsmanship and attention to detail in wood refinishing can transform any oak project into a stunning centerpiece.
| Technique | Benefit |
|---|---|
| Grain Matching | Ensures seamless integration with existing woodwork |
| Water-based Stains | Provides a consistent finish, reducing visible differences |
| Pre-stain Conditioner | Achieves uniform coverage and an impeccable finish |
| Testing Stains | Prevents blotching and ensures desired color outcome |
Best Practices for Varnish Application
Achieving a professional finish begins with careful selection of the right varnish for oak furniture. Polyurethane varnish is highly durable, making it perfect for high-traffic areas.
Alternatively, oil-based varnish enhances the natural wood grain, giving a warm finish.
For a quick-drying option with low VOCs, water-based varnishes are ideal for indoor applications.
To ensure a smooth finish during the varnish application process, start by lightly sanding the surface with 220-grit sandpaper.
Applying varnish with a quality brush or spray applicator guarantees even coverage. Remember to apply thin layers to prevent bubbles and drips.
Allow for drying times of 2-4 hours between coats to achieve optimal results.
Key Restoration Techniques for Longevity
Addressing common issues faced in aging oak furniture ensures its longevity and beauty. Typical problems include scratches and dents, which can often be effectively remedied using wood filler and matching stain.
Loose joints should be reinforced with wood glue or dowels to maintain structural integrity, which is essential for any furniture restoration.
Before undertaking any cosmetic work, it’s important to prioritize structural repairs.
Regular cleaning and seasonal inspections also form vital maintenance routines that help prevent further deterioration.
By focusing on both restoration techniques and ongoing maintenance, you can significantly enhance the durability and aesthetics of your oak furniture.
Varnish Application and Furniture Restoration
- Polyurethane varnish can increase the lifespan of oak furniture by providing a protective layer against scratches and moisture.
- Applying thin layers of varnish can reduce drying time and improve the overall finish quality.
- Regular maintenance, including cleaning and inspections, can extend the life of oak furniture by preventing minor issues from becoming major repairs.
- Using wood filler and matching stain can effectively conceal imperfections, preserving the aesthetic appeal of the furniture.
Furniture Maintenance Tips for Oak Furniture
Maintaining oak furniture ensures its charm and longevity. Establish a cleaning regimen that involves regular dusting with a soft, lint-free cloth to prevent scratches.
A gentle cleaning solution with mild soap and water can be utilized for deeper cleans every few months, helping to enhance its finish and aesthetics.
Humidity Control for Oak Furniture
Humidity control is important for oak furniture’s lifespan.
A relative humidity level of 40-60% is recommended to prevent warping and cracking.
Utilize a hygrometer to monitor indoor conditions and adjust with a humidifier or dehumidifier as necessary to maintain optimal wood care and durability.
Seasonal Maintenance Tips
Seasonal maintenance tips can further protect your oak pieces. During spring and summer, applying a protective coating or furniture polish can shield the finish from harmful UV rays.
For fall and winter, ensure to cover your furniture to protect it from the drying effects of heating vents and restore its quality craftsmanship.
Oak Furniture Maintenance
- Regular dusting can prevent scratches and maintain the furniture’s appearance.
- Maintaining a humidity level of 40-60% can significantly reduce the risk of warping and cracking.
- Applying furniture polish can protect the finish from UV damage during warmer months.
- Covers can help shield furniture from the drying effects of heating during colder seasons.